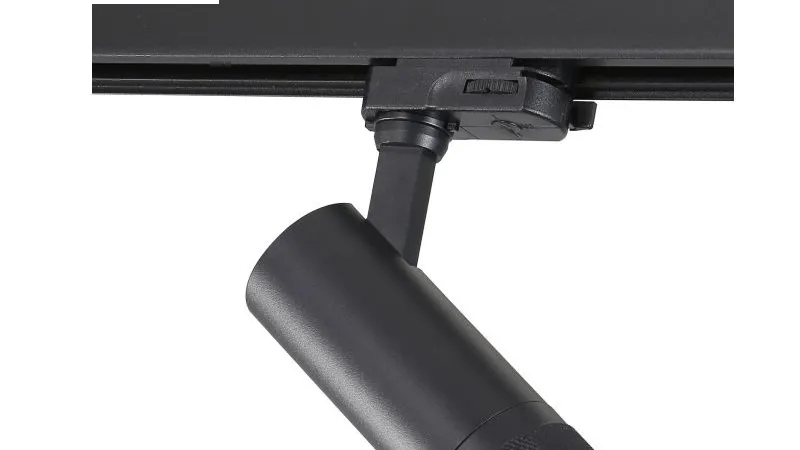
LED Track Rail Installation Guide: 3-Circuit vs Single-Phase
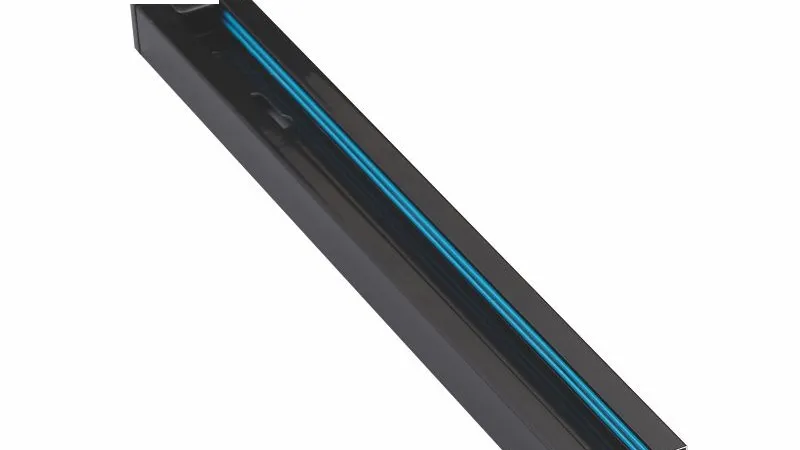
LED track rail is the backbone of any track lighting system. Choosing the right track rail — and installing it correctly — determines the flexibility, dimming capability, and safety of your entire lighting installation. This guide compares single-phase and 3-circuit track rail systems and provides installation best practices.
Track Rail Types Explained
Single-Phase Track (2-Wire)
The simplest track rail carries a single AC circuit: Live and Neutral. All fixtures on the track switch and dim together. This is the most economical option for basic retail and residential applications.
- Conductors: 2 (L + N)
- Circuit count: 1 (all fixtures on one switch)
- Dimming: TRIAC (phase-cut)
- Best for: Small retail, residential, basic accent lighting
Single-Phase Track (3-Wire)
Adds a ground conductor for safety. Same functionality as 2-wire but with earth connection required by code in many markets.
Single-Phase Track (4-Wire)
Carries two independent circuits on a single track. Fixtures can be assigned to circuit 1 or circuit 2, allowing two switch groups on one track. Common in retail where general and accent lighting share the same track.
3-Circuit / 6-Wire Track
The professional standard for commercial track lighting. Carries three independent circuits plus DALI control signals:
- Conductors: 6 (L1, L2, L3, N, DA+, DA-)
- Circuit count: 3 independent switch groups
- Dimming: DALI per-fixture control
- Best for: Museums, retail, hotels, commercial projects
Browse our track rail systems for all wiring configurations.
Planning the Installation
Load Calculation
Before installation, calculate the total load per circuit:
- Sum the wattage of all fixtures on each circuit
- Apply a 20% safety margin
- Verify total does not exceed the track rail rated capacity (typically 16A / 3500W per circuit for 3-phase)
- For DALI systems, verify total fixtures per DALI bus ≤ 64
Layout Planning
Plan track runs to minimize joints and connectors. Standard track lengths are 1m, 1.5m, 2m, and 3m. Use L-connectors, T-connectors, and cross-connectors for complex layouts. Maintain minimum 200mm spacing from walls for wall-wash applications.
Installation Steps
Step 1: Ceiling Preparation
For recessed track, cut ceiling channels to the exact track dimensions. For surface-mounted track, mark fixing points at maximum 600mm intervals. For suspended track, install ceiling anchors rated for the total track + fixture weight.
Step 2: Power Feed Installation
Install the power feed at the end or center of the track run. For 3-circuit track, wire each phase (L1, L2, L3) to the appropriate circuit breaker. For DALI systems, connect DA+ and DA- to the DALI controller.
Step 3: Track Assembly
Join track sections using insulated connectors. Verify conductivity across joints with a multimeter. For surface-mounted installations, secure track to ceiling at each fixing point. Ensure track is perfectly straight — use a laser level for runs over 3m.
Step 4: Fixture Installation
Insert track light adapters into the rail and rotate 90° to lock. For 3-circuit track, select the desired circuit using the fixture's circuit selector switch. Test each circuit independently before final fixture placement.
Step 5: DALI Addressing (if applicable)
For DALI systems, assign addresses to each fixture using a DALI USB or handheld controller. Verify each fixture responds to its assigned address. Program groups and scenes per the lighting design intent.
Common Installation Issues
- Voltage drop on long runs — for runs over 6m, add a mid-run power feed to maintain voltage
- Loose connectors — verify all joints are fully seated; loose connections cause flickering and arcing
- Circuit overload — never exceed the rated current per circuit; split fixtures across circuits
- DALI address conflicts — use the DALI commissioning tool to identify and re-address duplicates
Safety Considerations
Track rail installation involves mains voltage wiring. Always:
- Isolate power at the breaker before wiring
- Verify earthing continuity across all track sections
- Use only certified track and fixtures (CE/UL/CCC as applicable)
- Have a qualified electrician perform or inspect the installation
Product Recommendations
For professional 3-circuit DALI installations, we recommend:
- 3-phase 6-wire track rail — DALI 3-phase 6-wire track rail system
- Surface-mounted option — surface-mounted rail track system
- Heavy-duty option — 3-circuit heavy-duty track lighting
Conclusion
Choosing the right track rail system — single-phase for simple applications, 3-circuit for professional DALI projects — and following proper installation procedures ensures a safe, flexible, and long-lasting lighting installation. When in doubt, consult a qualified lighting engineer or electrician.
For track rail system design assistance, contact our team for project-specific recommendations.